
The call usually comes after a hard rain. A homeowner walks the edge of a bed, sees one timber kicked out of line, another one sinking at a corner, and a gap opening where mulch has already washed through. By the second season, the border that looked solid on day one is leaning, splitting, or holding water against the wood.
That's the part many overlook about timber edging. The wood is only the visible piece. The actual job is controlling movement, moisture, and alignment so the border survives West Tennessee weather, not just the first weekend after it's built.
Why Most Timber Edging Fails Within Two Years
A timber edge usually does not fail in one clean break. It starts with a slight rise after a wet winter, then a low spot that keeps trapping water, then a seam that opens because the boards no longer stay tight. In West Tennessee clay, those small shifts show up fast. The soil holds moisture, swells, then pushes back hard when it expands.
I see the same pattern in Jackson and across the region. A homeowner sets timbers flush with the surface, skips a real trench, and expects backfill to do the holding. One hard rain cycle is enough to move the border, and by the next season the repair bill is often higher than a proper install should have been from the start.
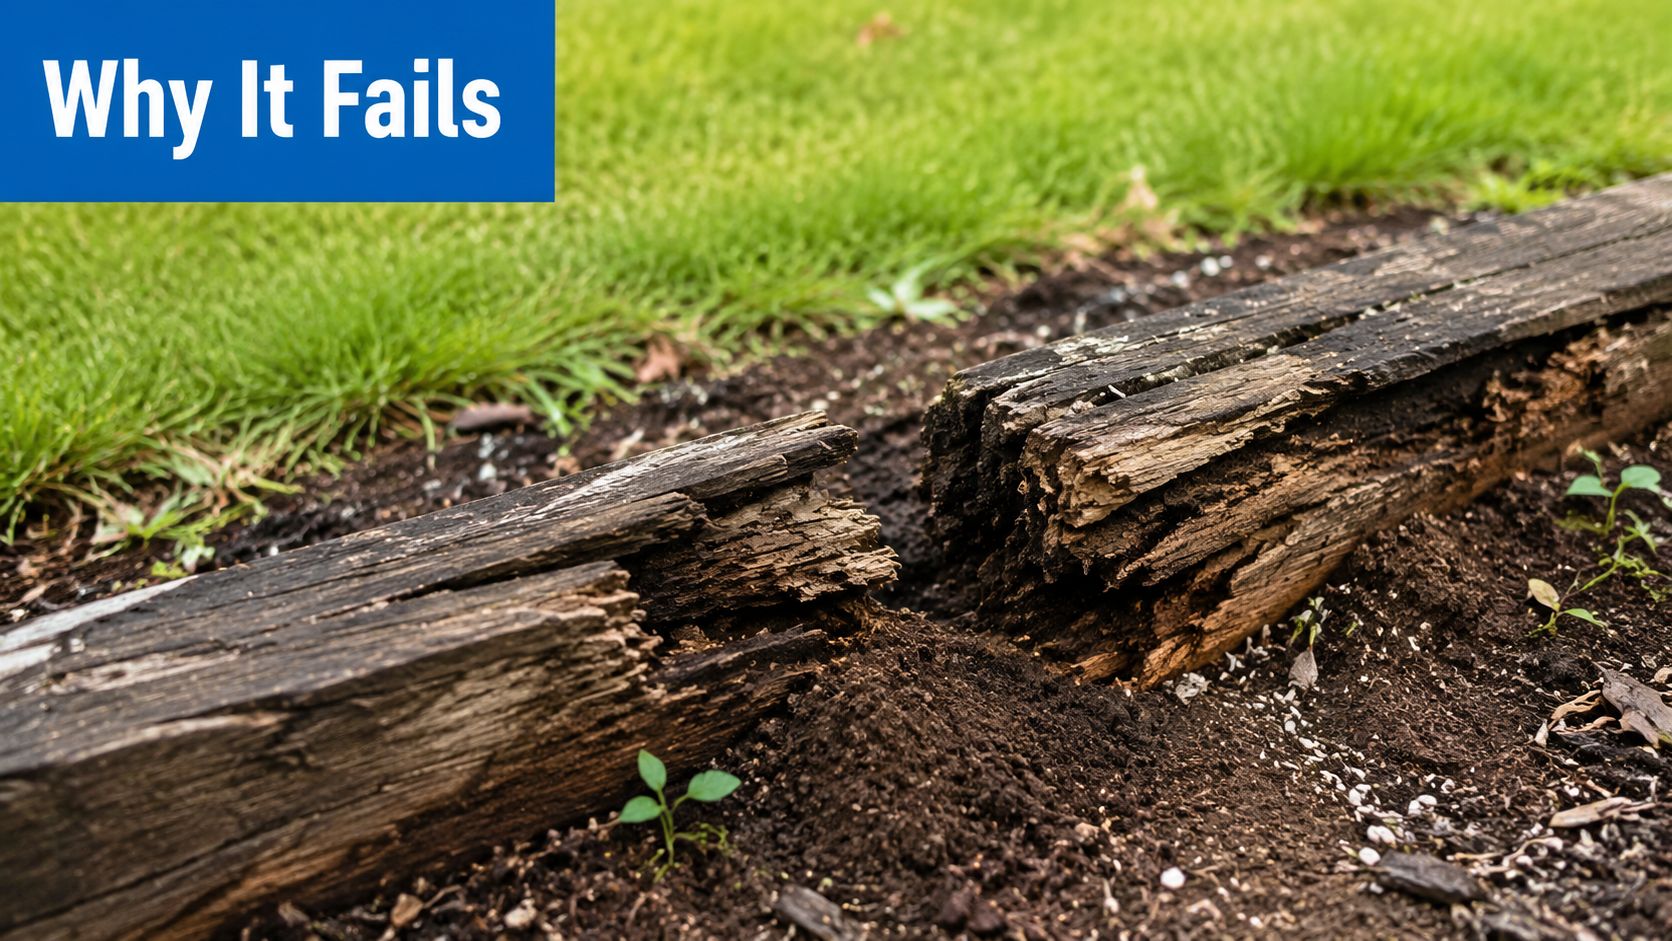
The three failure points I see most
The first is drainage. If water sits against the timber face or pools under the base, the wood stays damp and the soil softens around it. That is where rot starts early, especially in heavy rain and clay that does not drain fast.
The second is anchoring. Lowe's recommends 10- to 12-inch galvanized steel spikes and a trench built to the timber's width and depth (Lowe's installation guide). Angi places spikes at each end of each timber and every 4 feet in between, with a trench about 1 inch wider and 3 to 4 inches deep (Angi installation guide). Those details matter because a timber edge that can move even a little will keep working loose under soil pressure.
The third is course behavior on stacked walls. If the joints line up and the layers do not transfer load into one another, the wall starts acting like separate boards instead of one structure. That is when bulging, gaps, and early rot show up together.
Practical rule: if the border depends on soil alone to stay put, it was underbuilt from the start.
On slopes, washout often starts above the timbers, not at them. A bed edge that takes runoff from higher ground needs a different approach, and this guide on how to prevent soil erosion on slopes lines up with that reality.
Planning Your Layout and Gathering Materials
A timber border starts failing long before the first spike goes in. If the layout is guessed, the run usually drifts, the joints land in awkward spots, and the finished edge starts fighting the bed instead of holding it. I've seen that happen more often in West Tennessee clay, where a small layout mistake becomes a bigger problem once heavy rain softens the soil and frost heave starts pushing against the line.
Map the run before you buy wood
Walk the bed edge first and decide exactly where the border needs to land. Mark curves with paint, set stakes at corners, and stretch string on straight runs so you can see how the timber will meet patios, sidewalks, driveway edges, and bed ends before you order material.
That layout work also tells you where drainage and fabric decisions matter. If the bed line will catch runoff or wrap around an area that already stays wet, plan the edge around the water path and review landscape fabric installation so you do not box in moisture or bury the finished border under later work.
The cost is easier to judge in linear feet than as one lump sum. Homewyse shows timber edging pricing in a per-foot range, which helps you compare bids and judge whether your project is a short decorative run or a longer bed edge with extra grading or demolition (Homewyse cost guide). Use that view to separate the base price from the add-ons that show up once the ground is opened.
Choose materials with the soil in mind
Pressure-treated pine is common because it is practical and easy to source. Cedar has a cleaner look, but untreated wood does not stay sound as long where the soil stays damp. Composite timbers can reduce rot concerns, though they change both the appearance and the budget, so the right choice depends on how much wet contact the edge will see.
Moisture exposure matters more than the color of the wood. If the base stays wet, even good timber ages fast.
Gather the tools before you start digging. A trenching shovel, level, rubber mallet, drill with a spade bit for starter holes, and 10- to 12-inch galvanized steel spikes are the core items that keep the work moving. If you are building curves or stacking courses, add a saw that cuts cleanly and a second level for checking across corners and longer runs.
The material list should stay simple:
- Timbers: buy enough for the full linear run, plus extra for corner cuts and cleanup.
- Fasteners: use galvanized steel spikes long enough to resist shifting in soft soil.
- Base stone: keep gravel on hand for leveling and drainage where needed.
- Layout gear: string, stakes, marking paint, and a tape measure.
If you are tying the border into broader yard prep, make the sequence match your grading plan and see our shed foundation guide so the finished edge does not get buried, bent out of line, or disturbed by later ground work.
Excavating the Trench and Anchoring Timbers for Stability
A timber border looks fine on day one, then starts to drift after the first wet season if the trench was shallow, uneven, or packed with soft spoil. In West Tennessee clay, I have seen edges move because the base stayed damp, the soil heaved, or the fasteners were too short to hold the line. The failures usually start below grade, long before the top edge gives away the problem.
Set the base the right way
A trench needs to fit the timber without squeezing it, and it needs enough depth to give the base stone room to work. A practical target is a trench about 1 inch wider than the timber and dug 3 to 4 inches deep, with gravel where drainage is needed, which matches the kind of field guidance found in Lowe's installation guide and the Angi installation guide. That extra width makes placement easier and keeps the timber from binding against the trench wall when the soil swells.
Once the trench is open, get the bottom as level as you can before the timber goes in. A flat base keeps the run straight and cuts down on rocking as the backfill settles.
Retaining-style builds need a tighter approach because the load is coming from the soil behind the face. Stagger the joints between courses, drill starter holes through the upper layer, and fasten each course into the one below so the wall acts as one unit, as outlined in the retaining wall installation guide. If you are working from the foundation side of the job as well, see our shed foundation guide for the same habit of starting with a sound base and stable support.
Fasten for movement, not just appearance
Spikes need to do real holding work, not just mark the timber in place. A solid pattern is each end of each timber and every 4 feet in between, using 10- to 12-inch galvanized steel spikes so the edging resists soil pressure and seasonal heave. That spacing matters in clay soil, where a line can creep even when the timber itself still looks tight at the surface.
Starter holes save time and keep the spikes on line. I drill them with a spade bit, check the level again, drive the fasteners, then backfill in stages so the run is supported as it goes. If the project starts behaving like a retaining wall instead of simple edging, the work is past casual DIY territory and needs the same attention to footing, drainage, and anchoring that a heavier structure demands.
Managing Drainage and Preventing Erosion Behind the Timber Line
Water is what turns a decent timber job into a repair call. In this region, the problem is not just rain, it's the way clay holds that water and keeps pressure on the back side of the wood. If the soil can't drain, the timbers become the barrier holding the wet mass in place.
Drainage is part of the structure
Behind a retaining-style timber face, gravel backfill reduces pressure and gives water somewhere to move. A perforated drain pipe along the base helps carry runoff away before it loads the wall. The goal is simple, keep water from building up where the timber has to fight it.
West Tennessee clay soil needs extra respect because it stays wet longer than sandy ground. That means more attention to base rock, a cleaner drainage path, and careful runoff direction so water doesn't return to the trench. If water from a higher bed or slope keeps feeding the same line, the wall is always working against a moving target.
For a broader drainage reset on a property, how to improve lawn drainage is worth reading alongside the install plan. The same water that causes a soggy lawn can undermine a timber edge a few feet away.
Stop erosion before it buries the face
Slope runoff is a common problem behind failed timber lines. Soil washes over the top, settles behind the border, and adds weight where it doesn't belong. Fabric, riprap, and ground cover plantings can all help slow that movement, but they need to be used with a drainage plan, not as a substitute for one.
If the ground above the timber keeps shedding soil, the wall will never stay clean for long.
The hidden failure here is that people often treat erosion as a cosmetic issue. It's structural. When soil keeps coming down behind the timbers, it traps moisture, adds pressure, and speeds up decay at the same time.
Understanding Costs and Budgeting for Your Project
A timber project is cheaper when it stays put. Once a border has to be dug back out, re-anchored, or corrected after one wet season, the bill climbs fast. Start with the run length and the site conditions, not just the stack of wood sitting in the driveway.
What the numbers usually mean
For a practical baseline, the Homewyse cost guide gives a timber installation range of $8.60 to $14.57 per linear foot, which is a useful way to price a project by length. Using that range, a 100-foot run usually lands around $860 to $1,457 before demolition, drainage fixes, or rough grading get added in.
| Project Length (Linear Feet) | Estimated Cost Range | Typical Use Case |
|---|---|---|
| 25 | $215 to $364.25 | Short bed edge or small accent border |
| 50 | $430 to $728.50 | Front foundation edge or side yard run |
| 100 | $860 to $1,457 | Long perimeter edging or larger garden border |
Those figures are a budgeting tool, not a quote. Access, soil condition, and whether the old edging has to come out first all change the final number. A backyard with tight access and wet clay that needs extra excavation is a different job from a wide-open front bed on forgiving ground.
West Tennessee adds its own cost pressure because clay holds water and fights clean trench work. If the soil stays slick, you spend more time on excavation, base rock, and backfill control. That extra labor is usually what turns a simple edging job into a much larger project.
DIY versus hiring it out
DIY can work for simple edging on level ground. The problem is that the hidden labor is easy to miss, especially when the trench keeps collapsing, the soil keeps slumping, or the spikes never grab firm enough to hold the line.
Professionals usually make more sense when the site needs drainage correction, has a steep grade, or already has a failed border in place. A fair quote should spell out materials, earthwork, removal, drainage changes, and the fastening plan. The lowest bid is often the one that skips the parts that keep the wall from shifting.
If you are comparing ongoing yard spending, lawn maintenance service cost is a useful companion read because a timber edge usually sits inside a larger property budget. For design ideas that help timber borders look intentional instead of temporary, the MyGardenGPT hardscape design guide is a useful visual reference before you finalize finishes and transitions.
Finishing Touches and Long-Term Maintenance
A finished timber edge should look settled, not patched together. Cap timbers can sharpen the appearance and help shed water off the top edge, especially where a retaining-style build needs a cleaner line. On cut ends, a wood preservative helps protect the exposed grain where decay starts fastest.
Keep the border tight after the build
Backfill both sides carefully and compact the soil in lifts, not all at once. That gives the edge a cleaner transition to mulch or turf and reduces the settling that creates gaps later. If the timber line borders a lawn, keep grass and mulch from sitting against the wood for long stretches.
Maintenance is mostly inspection and cleanup. After freeze-thaw cycles, check for loose spikes, especially at corners and ends where movement shows first. Keep drainage gravel clear of leaves and silt, and watch for early signs of rot or insect activity at seams and cut edges.
For design ideas that help timber borders look intentional instead of temporary, the MyGardenGPT hardscape design guide is a useful visual reference before you finalize finishes and transitions.
Know when the project has outgrown DIY
Two-course-high walls, steep slopes, chronic standing water, and any site that needs drainage correction before the timbers go in all push the work beyond simple homeowner territory. Those are the jobs where base prep, drainage routing, and anchoring need to be right the first time.
If you're in Jackson or anywhere in West Tennessee and your timber edge is already shifting, rotting, or trapping water, get a professional look before the problem spreads into the bed or lawn. A properly built timber line should hold its shape, shed water, and stay quiet through the weather, not keep asking for patch repairs.
If your timber border is leaning, soft at the base, or shedding soil after every storm, don't wait for the next season to make it worse. Reach out to Lawn & Leaf Solutions for a free estimate and get a timber installation plan that's built for West Tennessee clay, heavy rain, and long-term stability.