Introduction to French Drains
When it comes to installing a French drain, the type of pipe you choose is crucial. I exclusively use a pipe designed specifically for yard drainage and French drains—unlike the black pipe with tiny perforations, you’ll find at big box stores. The blue pipe I use offers 17 square inches of inlet capacity per foot and features four perforations or slots per valley. Plus, it boasts a much higher crush rating than even double-wall corrugated pipe. While I can’t say for certain that it outperforms double-wall options in every scenario, I can assure you it’s built to last!
Common Misconceptions in French Drain Installation
Now, let’s dive into how a proper French drain is constructed. There are countless methods out there, many of which are outdated or just plain incorrect. Unfortunately, a common and misguided approach goes something like this:
- Digging the Trench: First, dig your trench with the desired slope, often resulting in a messy bottom.
- Adding Gravel: Next, people usually add 4 to 6 inches of gravel, pea gravel, or even septic rock.
- Pipe Installation: Then they install a 4-inch corrugated perforated black pipe on top of the rocks. Some might opt for a 4-inch PVC pipe with holes, but both options are ineffective.
At this point, many homeowners try to add a sock over the pipe or “tie in” their downspouts, but both methods can lead to clogs. After that, they cover it all up with dirt, hoping no one will see the mistakes. If any contractor is installing a French drain like this, they’re doing their clients a serious disservice. A knowledgeable contractor should always research and use the best practices available.
How to Construct a Durable French Drain
So, how do you construct a French drain that can last a century or more with minimal maintenance? It starts by digging your trench in the low point of your yard. While building a French drain, some might consider adding soil to these low spots to improve drainage, but in reality, this just moves water from one standing pool to another. Instead, use the low points as collection areas for your trench.
- Trench Specifications: Your trench should be flat on all three sides, starting with a 1% grade at the beginning and ideally ending with a 2% grade. Achieving a flat bottom can be tricky, especially if you’re using an excavator. It’s wise to have a spotter to watch for buried cables, which can complicate the process if you need to pull slack or cut cables to achieve proper slope.
Importance of Filter Fabric
Once you’ve graded your trench, line it with 4 oz non-woven geotextile filter fabric. It’s best to choose needle-punched fabric for optimal drainage—double needle-punched fabric provides even better flow rates. This step is often overlooked by contractors due to the cost and complexity of installation, but it’s crucial as this fabric serves as a soil separator.
Installing the Drain Pipe Correctly
After securing the filter fabric, install your purpose-built yard drain pipe. Avoid tying in your gutter downspouts directly to the French drain; this can lead to clogging. Instead, use a separate pipe for your downspouts to prevent debris from contaminating your French drain system. I’ve used both PVC schedule 40 and yellow corrugated pipes for this purpose, with the latter being easier to work with. Just make sure it has a good slope!
Choosing the Right Rock Material
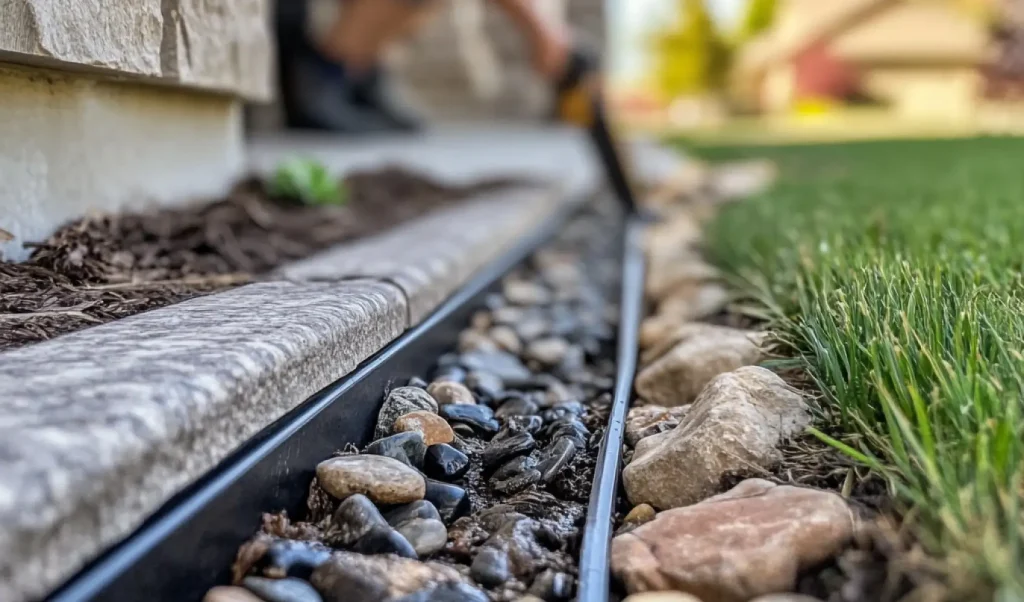
Now comes the crucial step of adding rocks. You want washed clean round river rock—not pea gravel or crushed limestone. Round rocks don’t compact like smaller stones do, ensuring larger voids for better drainage capacity.
As you add the clean round river rocks, leave about 2-3 inches of space at the top. This allows for either sod placement or additional rocks if you prefer an open French drain. Open French drains can be especially beneficial if you experience significant sheet water flow from hills or driveways, making it easier to direct water into surface or yard drains.
Most of the systems I install here in West Tennessee are open French drains due to the clay-heavy soil and grass preventing proper drainage.
Finalizing Your Installation
Now that your trench has a neat, flat bottom with filter fabric, yard drain pipe, and clean river rocks, it’s time to pin the fabric at the top. This will encase all your hard work, ensuring that the system remains clean and functional for decades to come.
French Drain Maintenance
A well-maintained French drain can last for years, keeping your yard dry and healthy. Here are some essential tips to ensure it functions optimally:
Regular Inspections
Make it a habit to check your French drain regularly, especially after heavy rain. Keep an eye out for signs of clogging or damage—like water pooling where it shouldn’t be. If you spot any issues, don’t wait to address them; catching problems early can save you from bigger headaches down the line!
Clear Debris
Take a moment to remove leaves, dirt, and other debris that might be blocking your drain. Keeping the area around your French drain clear not only helps prevent clogs but also ensures that water can flow efficiently. A little upkeep goes a long way!
Monitor Water Flow
Keep tabs on how water is moving through your drain. If you see standing water in your yard, it could mean there’s a clog that needs your attention. Staying vigilant about water flow will help you catch any problems before they turn into major issues.
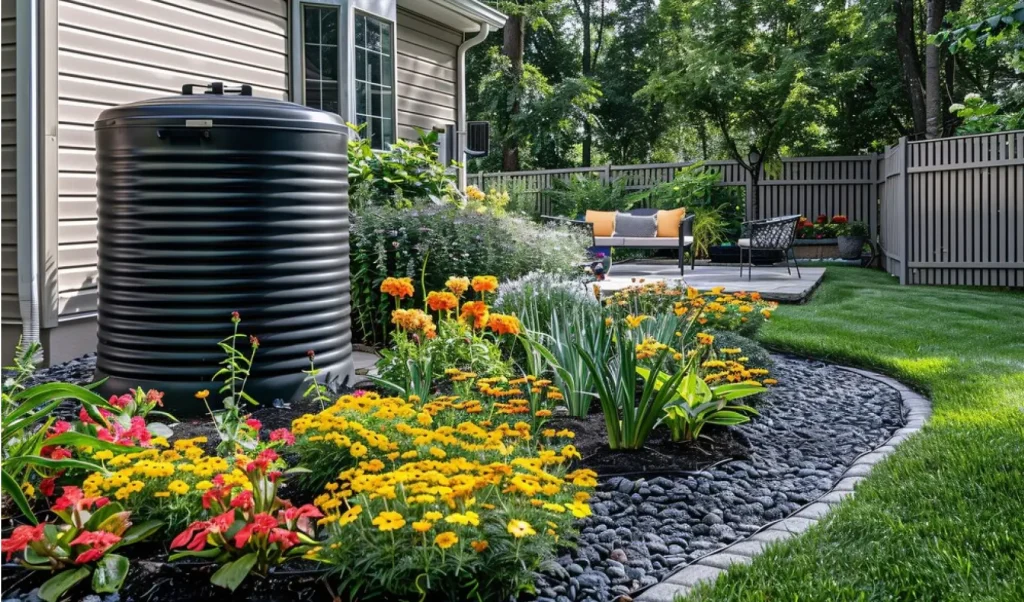
Yard Drainage Ideas to Complement Your French Drain
While French drains are super effective, why not take it a step further? Consider additional yard drainage solutions to enhance your system and keep your property in tip-top shape!
Want to Solve Your Drainage Problems?
This overview captures how I custom design complex drainage systems tailored to my clients’ specific needs. If you’re ready to tackle those pesky drainage issues and dry out your soggy yard, don’t hesitate to call and schedule an assessment. Together, we can create a drainage system that works effectively and lasts a lifetime!