The Ultimate Guide: How to Build a French Drain and Solve Your Drainage Problems
Is your yard more swamp than sanctuary after a rain shower? Do you battle persistent puddles, squishy patches, and the unwelcome buzz of mosquitoes? Poor drainage can turn your outdoor oasis into a frustrating and potentially damaging problem. Fortunately, there’s a time-tested and effective solution: learning how to build a french drain.
At Lawn And Leaf Solutions, we’ve seen firsthand the transformative power of proper drainage. While our team in Jackson, TN, specializes in professional french drain installation and comprehensive lawn care Jackson TN, we believe in equipping homeowners with the knowledge to tackle common landscaping challenges. This ultimate guide will walk you through every step involved in how to build a french drain, empowering you to conquer those drainage woes and finally enjoy a dry, healthy, and usable yard.
Understanding the Science: What is a French Drain and How Does It Work?
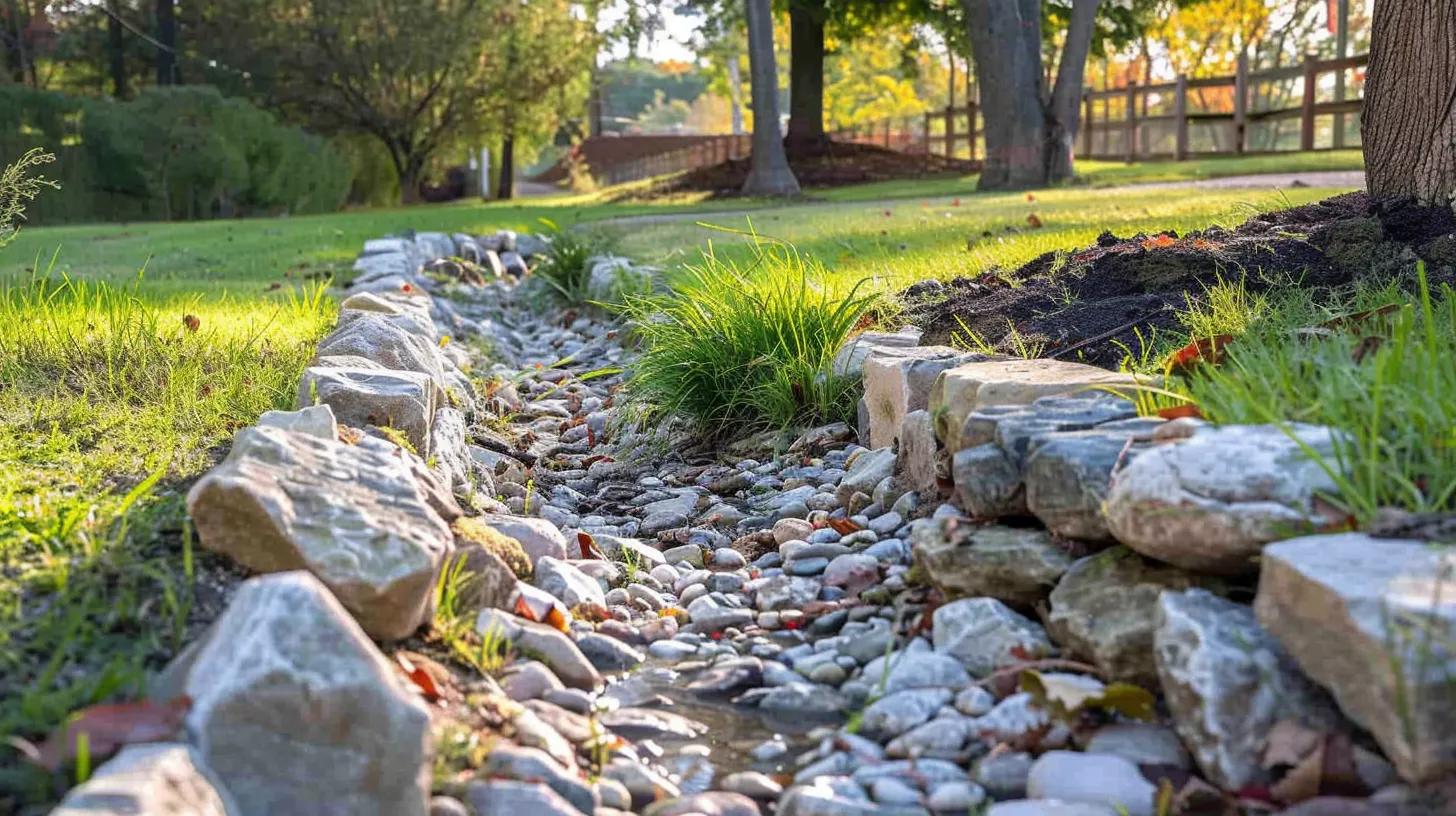
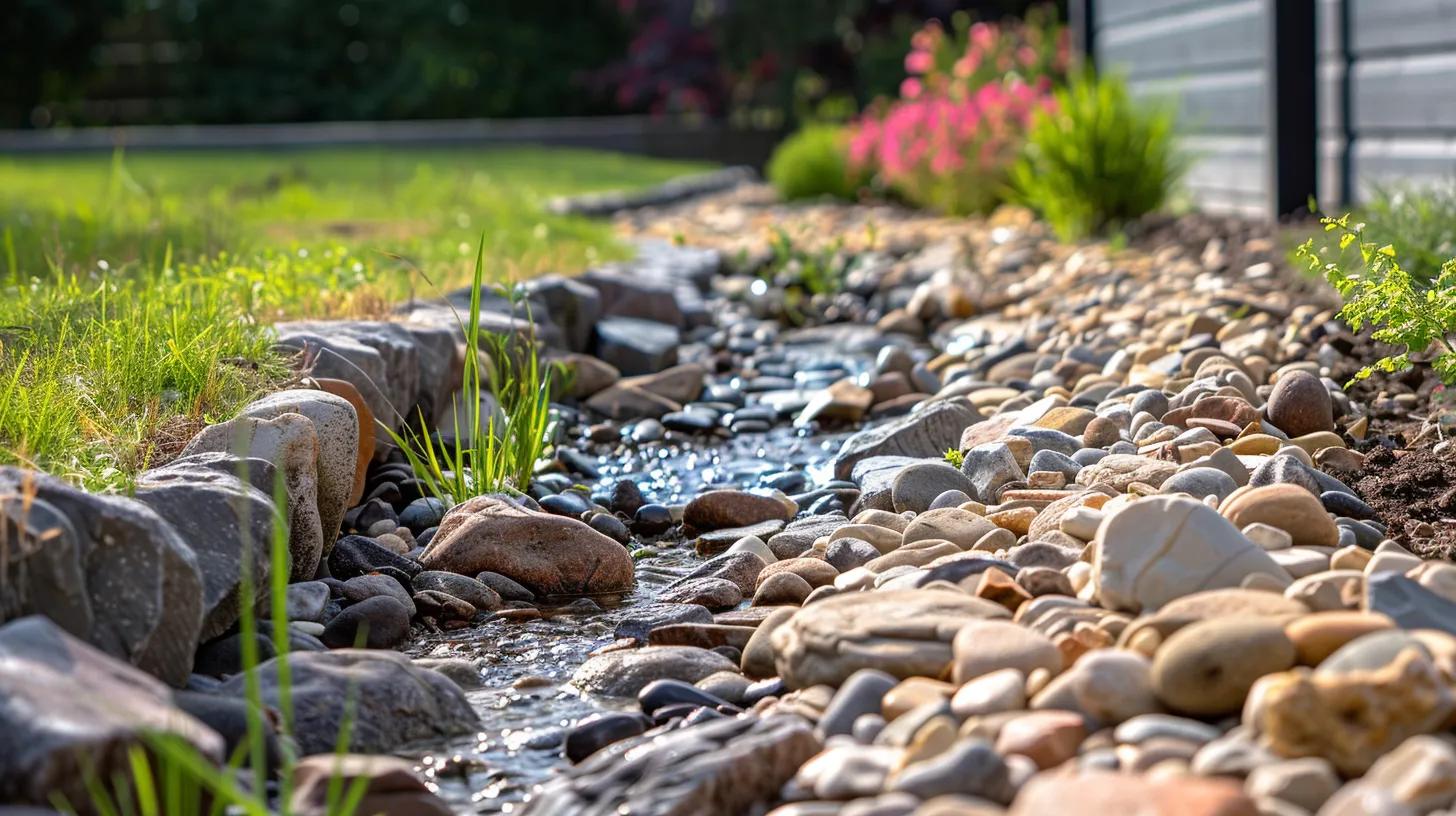
Before we delve into the practicalities of how to build a french drain, let’s understand the underlying principle. A french drain is a simple yet ingenious system designed to redirect subsurface water. It consists of a trench filled with permeable material, typically gravel or crushed stone, that houses a perforated pipe.
Here’s how it works: Water naturally follows the path of least resistance. When excess groundwater saturates the soil, it seeps into the porous gravel-filled trench. The gravel acts as a filter, preventing soil particles from clogging the perforated pipe within. This pipe, laid with a slight downward slope, then channels the collected water away from the problem area to a designated discharge point.
Why Choose a French Drain? The Benefits of Effective Drainage
Investing the time and effort into how to build a french drain offers a multitude of advantages for your property:
- Eliminates Standing Water: This is the most immediate and noticeable benefit, banishing those unsightly and inconvenient puddles that linger for days.
- Protects Plant Health: Waterlogged soil suffocates plant roots, hindering their ability to absorb nutrients and oxygen, leading to stunted growth, disease, and even death. A french drain promotes healthy root development.
- Reduces Mosquito Populations: Stagnant water is a prime breeding ground for mosquitoes. By eliminating these water sources, you can significantly reduce the nuisance and potential health risks associated with these pests.
- Safeguards Your Home’s Foundation: Excessive moisture around your foundation can exert hydrostatic pressure, leading to cracks, leaks, and costly structural damage. A french drain can effectively divert water away from this critical area.
- Improves Soil Structure and Aeration: Proper drainage allows for better air circulation within the soil, which is essential for the health of beneficial microorganisms and the overall fertility of your lawn and garden.
- Prevents Erosion and Runoff: By intercepting subsurface water, french drains can help stabilize slopes and reduce surface runoff, preventing soil erosion and the transportation of sediment.
- Enhances Property Value and Aesthetics: A well-drained yard is a more attractive and usable space, increasing your property’s appeal and overall value.
Planning for Success: Essential Steps Before You Dig
Successfully how to build a french drain hinges on careful planning and preparation. Skipping these steps can lead to ineffective drainage and wasted effort.
- Identify the Problem Areas and Water Flow: Observe your yard after heavy rainfall. Pinpoint the exact locations where water pools and try to determine the natural flow of water across your property. This will help you determine the optimal placement and direction of your french drain.
- Determine the Discharge Point: Decide where the collected water will be safely and effectively directed. Common options include:
- A lower-lying area on your property where water can naturally dissipate.
- A dry well or infiltration basin designed to slowly release water into the ground.
- A street gutter or storm drain (check local regulations and ensure proper permits).
- A designated drainage ditch or swale. Ensure the discharge point is significantly lower than the problem area and that the water flows away from your and your neighbors’ foundations.
- Locate Underground Utilities: This is a non-negotiable step! Before you even think about digging, contact your local utility companies to mark the locations of any underground lines (gas, electric, water, cable, etc.). In the United States, dial 811. Striking a utility line can be incredibly dangerous and result in significant fines and service disruptions.
- Plan the Trench Layout and Dimensions: Mark the intended path of your french drain using marking paint or stakes and string. The trench should have a consistent downward slope of at least 1 inch per 10 feet to allow gravity to do its work. The typical width ranges from 6 to 12 inches, and the depth will depend on the severity of the drainage issue and the depth of the saturated soil. A general guideline is 12 to 24 inches deep.
- Gather Your Tools and Materials: Having everything ready before you start digging will streamline the process. You’ll need:
- Perforated Pipe: Choose a 4-inch diameter flexible, corrugated pipe or rigid PVC pipe with pre-drilled holes. Ensure you have enough length to cover the entire trench.
- Gravel or Crushed Stone: You’ll need a substantial amount to fill the trench below, around, and above the pipe. Washed gravel (around ¾ to 1 ½ inches) is ideal as it allows for good water flow and prevents excessive sediment buildup.
- Filter Fabric (Geotextile Fabric): This porous fabric is crucial for preventing soil particles from clogging the gravel and pipe. Choose a durable, landscape-grade fabric.
- Shovel or Trenching Tool: A sturdy trenching shovel is essential for manual digging. For longer or deeper trenches, consider renting a mechanical trencher.
- Wheelbarrow: For transporting gravel and excavated soil.
- Level: To ensure the proper slope of the trench.
- Measuring Tape: To accurately measure the trench length and depth.
- Gloves and Safety Glasses: For personal protection during digging and material handling.
- Pipe Connectors (if needed): To join sections of pipe securely.
- End Cap: To seal the discharge end of the pipe and prevent debris from entering.
Step-by-Step Guide: The Process of How to Build a French Drain
With your planning complete and materials gathered, it’s time to learn how to build a french drain step-by-step:
Step 1: Dig the Trench: Following your marked lines, begin digging the trench. Maintain the planned width and depth, and consistently check the slope using your level. This is often the most labor-intensive part of the project, so take breaks as needed and consider enlisting help for longer trenches.
Step 2: Line the Trench with Filter Fabric: Unroll the filter fabric along the bottom and up the sides of the trench, ensuring there is ample overlap (at least 12 inches on each side). This fabric will create a protective barrier around the gravel and pipe.
Step 3: Add a Base Layer of Gravel: Pour a layer of gravel (typically 2-4 inches thick) onto the bottom of the trench over the filter fabric. This base layer provides a stable foundation for the pipe and allows water to flow freely beneath it.
Step 4: Lay the Perforated Pipe: Carefully place the perforated pipe on top of the gravel layer, ensuring the holes are facing downwards or to the sides to maximize water collection. Connect pipe sections using appropriate connectors if necessary.
Step 5: Add More Gravel Around and Above the Pipe: Pour more gravel into the trench, completely encasing the perforated pipe. The gravel layer above the pipe should be at least 4-6 inches thick to provide sufficient filtration and water flow.
Step 6: Wrap the Filter Fabric Over the Gravel: Fold the excess filter fabric from the sides over the top layer of gravel, completely overlapping it. This creates a “burrito” effect, fully enclosing the gravel and pipe within the protective fabric. Secure the overlap with a bit of extra gravel if needed.
Step 7: Backfill the Trench: Now you can backfill the remaining portion of the trench with the soil you excavated earlier. Tamp the soil down gently to avoid settling. You can choose to leave a slight depression above the drain to further encourage surface water to enter, or you can level it with the surrounding ground. Consider adding a layer of topsoil and replanting grass or covering the area with decorative stones or mulch for an aesthetically pleasing finish.
Maintaining Your French Drain for Long-Term Performance
Once your french drain installation is complete, a little maintenance will go a long way in ensuring its continued effectiveness:
- Regular Inspection: Periodically check the discharge point, especially after heavy rainfall, to ensure water is flowing freely.
- Clear Surface Debris: Keep the area above the drain free of leaves, branches, and other debris that could potentially decompose and clog the system over time.
- Consider Clean-Outs: For longer french drains, installing vertical, non-perforated clean-out pipes at intervals can provide access for maintenance. You can use a plumbing snake or a garden hose with a high-pressure nozzle to flush out any accumulated sediment.
DIY vs. Professional French Drain Installation: Making the Right Choice
While this comprehensive guide empowers you with the knowledge of how to build a french drain, it’s crucial to assess your own capabilities, time constraints, and the complexity of your drainage issue.
For smaller, localized drainage problems in easily accessible areas, a DIY approach can be a cost-effective solution. However, for larger projects, those near your home’s foundation, or if you lack the necessary time or physical capacity, professional french drain installation by experts like Lawn And Leaf Solutions is highly recommended.
Our experienced team in Jackson, TN, possesses the specialized equipment, knowledge of local soil conditions, and expertise to design and install a french drain system that effectively and efficiently solves your drainage problems. We can ensure proper slope, correct pipe placement, and appropriate discharge, giving you peace of mind and a long-lasting solution. Plus, entrusting the job to professionals frees up your time and energy for other landscaping endeavors or simply enjoying your dry yard.
Conclusion
Learning how to build a french drain is a valuable skill for any homeowner battling drainage issues. By understanding the principles and following these detailed steps, you can take control of excess water and create a healthier, more enjoyable outdoor environment. Whether you decide to tackle the project yourself or opt for professional french drain installation from Lawn And Leaf Solutions in Jackson, TN, investing in proper drainage is an investment in the long-term health and beauty of your property. Say goodbye to soggy soil and hello to a dry, usable, and thriving yard!